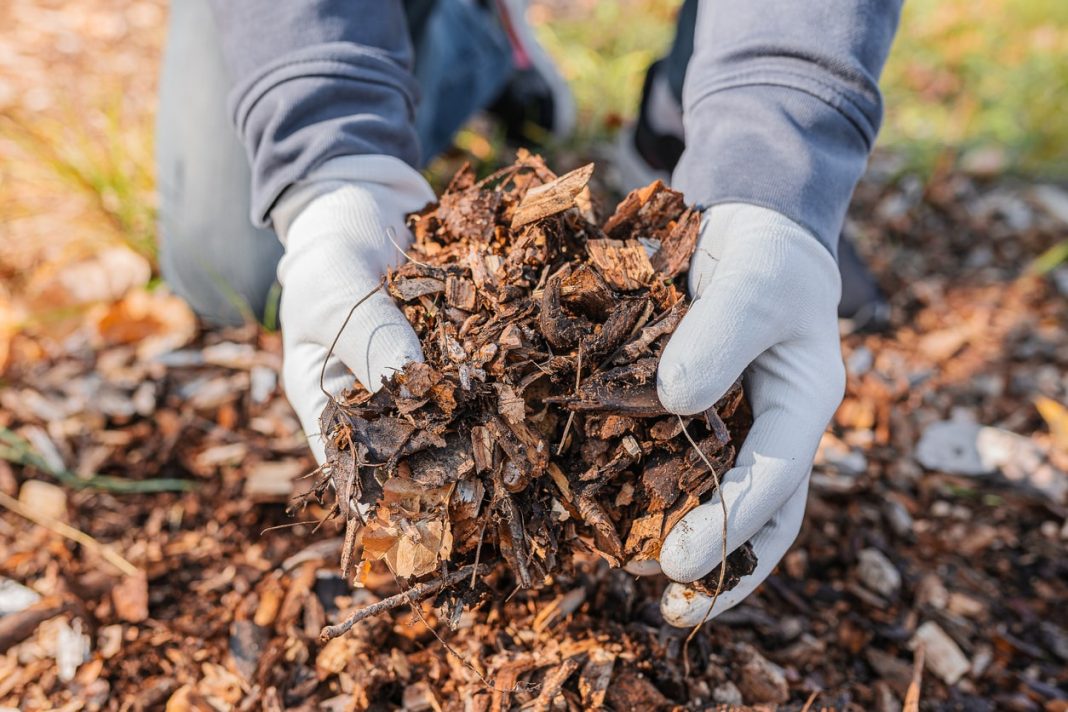
Garden Thyme: Composting Leaves in the Fall
Composting leaves in the fall yields many benefits.
First of all, it is an excellent way to make compost at home for free. Composting leaves creates rich soil that adds essential nutrients to your garden to enhance growth in the spring. Additionally, it decreases the amount of yard waste in landfills by using the leaf waste instead of throwing it out with the trash. Not only that, but it also reduces the waste from your home by using certain food scraps to add to your compost rather than throwing them away.
Clearing your yard of leaves might not be a chore everyone looks forward to in the fall. But with all these wonderful benefits of composting leaves, you’ll hopefully be more motivated to go get that rake and get to work! If you’ve never made leaf compost before, not to worry! Composting leaves is not only excellent for your garden, but it’s also easy! Here’s a simple guide on how to make leaf compost in the fall.
- Determine where and how to store your composting leaves
- Shred the leaves
- Add a nitrogen source to your composting leaves
- Maintain your composting leaves
- Be patient!
1. Determine where and how to store your composting leaves
Before anything else, you need to decide where your compost pile will go and the method you will use to store it.
Choose a place in your yard that’s in partial sunlight. You want your compost pile to get enough sun to maintain warmth to encourage bacterial growth. However, you don’t want so much sun exposure that it easily dries out, as a certain degree of moisture must be present. If possible, also consider a location for your compost pile that isn’t too far away from your garden to make transport easier when your compost is ready to use.
Next, there are a few methods to store your composting leaves. To keep things easy, you can simply create an open pile in a designated spot in your yard. However, to keep things more organized and insulated, you might consider making a compost box (watch the video below for instructions!) with height/width dimensions of around 3ft to 4ft. Likewise, you can purchase upright compost bins or compost tumblers online or at your local garden/hardware store.
2. Shred the leaves
Once you’ve decided where and how to store your composting leaves, now you need to get your leaves ready. If you pile up your leaves whole, it will take forever for them to compost fully. Not only that, but if the leaves are just tossed into the pile as-is, they might mat together. This “matting” prevents necessary air and water flow, inhibiting decomposition. Therefore, you need to shred the leaves before piling them to break them up and jumpstart the decaying process.
To shred your leaves, use a lawnmower with a bag attachment to both shred and collect the leaves. When the bag is full, simply empty the shredded leaves into your compost bin/pile. Alternatively, you can purchase an electric leaf mulcher that will thoroughly shred your leaves and streamline this process. You can also find this item online or at your local garden/hardware store.
3. Add a nitrogen source to your composting leaves
The primary elements that create an effective, nutrient-rich compost are moisture, carbon, and nitrogen. Water provides the moisture, and the leaves make up the carbon element. The “green,” moist nitrogen element can be from multiple sources, such as:
- Grass clippings
- Used coffee grounds (Pro tip: ask your local coffee shop for their coffee grounds waste!)
- Certain food scraps (keep dairy products, bread, and meat out of your compost pile)
- Manure
- Nitrogen fertilizer
- Any other nitrogen source
Layer and mix your shredded leaves to nitrogen source in about a 6 to 1 ratio. Next, consider your compost pile’s moisture level. The goal is moist, but not soggy. If the pile doesn’t seem moist enough, add a little water from your garden hose and mix throughout.
4. Maintain your composting leaves
Now that you’ve created your compost pile, you need to keep it maintained. Maintaining your compost pile is easy, and requires little attention.
Using a pitchfork or shovel, give your compost pile a thorough mixing once every 2 or 3 weeks, keeping an eye on the moisture level each time. Without the moisture element, the decomposition process will slow or stop. If the pile seems to be drying out, add a little more water to it when mixing.
Likewise, essential to the decomposition process of your compost pile is warmth. During the cold of winter, this can cause your compost to slow or stop decaying. You can attempt to prevent this with some extra layers of leaves, straw, cardboard, or sawdust for insulation. If possible, you might also consider moving the pile into a sunnier spot in your yard.
5. Be patient!
Lastly, when composting leaves, be patient! It doesn’t happen overnight. Depending on how well the pile is maintained, the composting process might take several months or even a year before it’s garden-ready. However, the wait is well worth it, and your garden will thank you!
Like this content and want more? Read more home and garden tips on our blog! And don’t forget to subscribe to Dock Line Magazine to get more content like this sent straight to your inbox and mailbox!


